


WPC decking is made of natural wood powder as the main raw material, adding HDPE (polyethylene vinyl), and then adding some necessary chemical additives, and extruding it through professional wood-plastic extrusion equipment under high temperature and high pressure. Wood plastic decking can be widely used in plank road, square, garden landscape and so on. The main features of WPC decking: strong wood feeling, wear resistance, impact resistance, high density, waterproof, moisture-proof, termite-proof, easy installation and low cost. Compared with anti-corrosion wood decking, WPC decks have great advantages: no paint, no glue, low maintenance costs, barefoot, non-slip, not easy to crack, 100% environmentally friendly, saving forest resources. Let's take a look at how to install wpc decking.
WPC Decking Selection
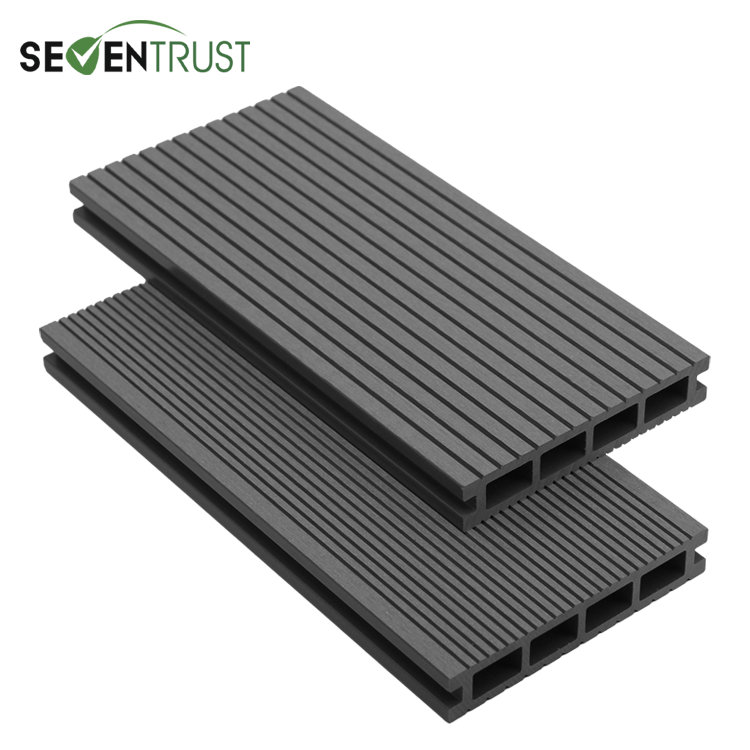
ST-140H25
Concise Groove Decking
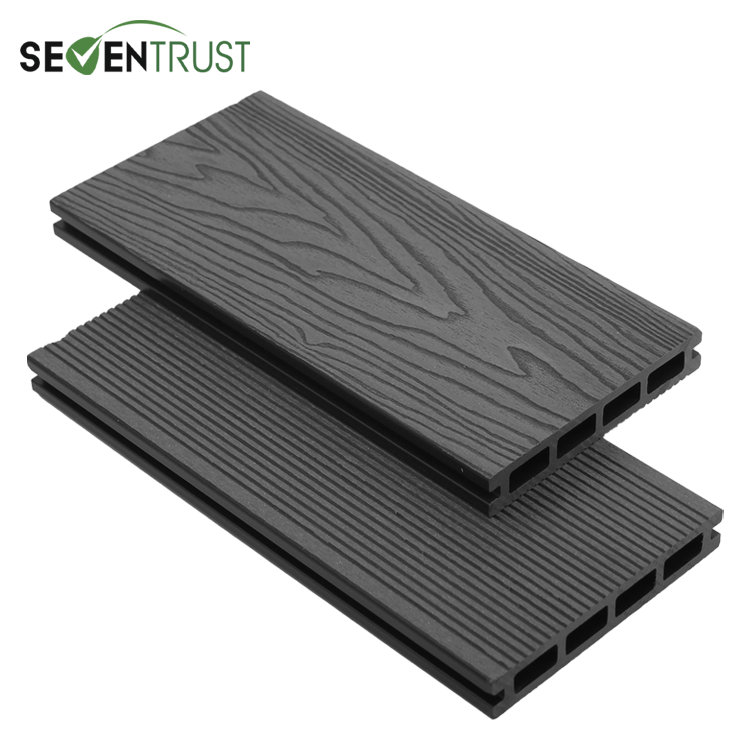
STD-140H23
3D Embossed Decking
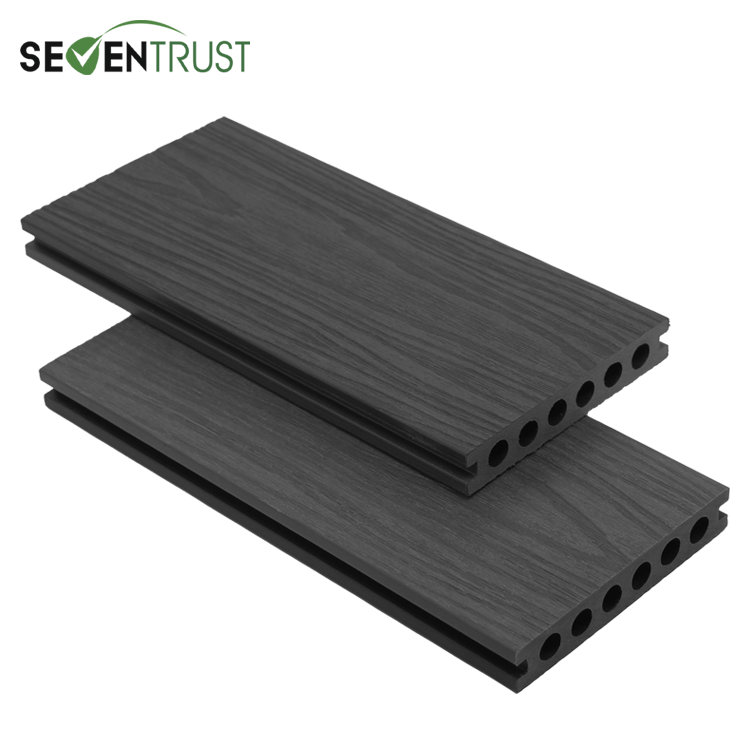
STC-138H23
Co-extrusion Decking
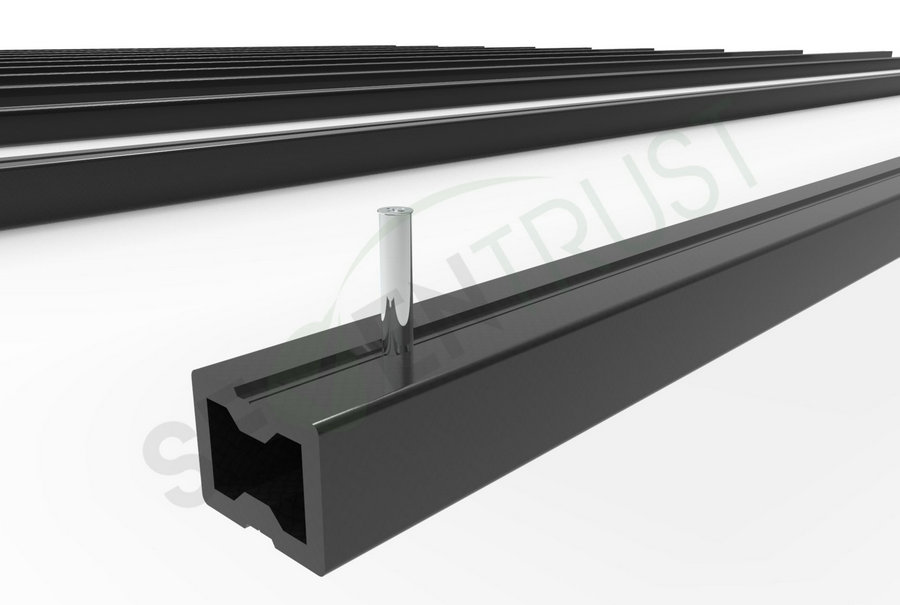
WPC Decking Joist Selection
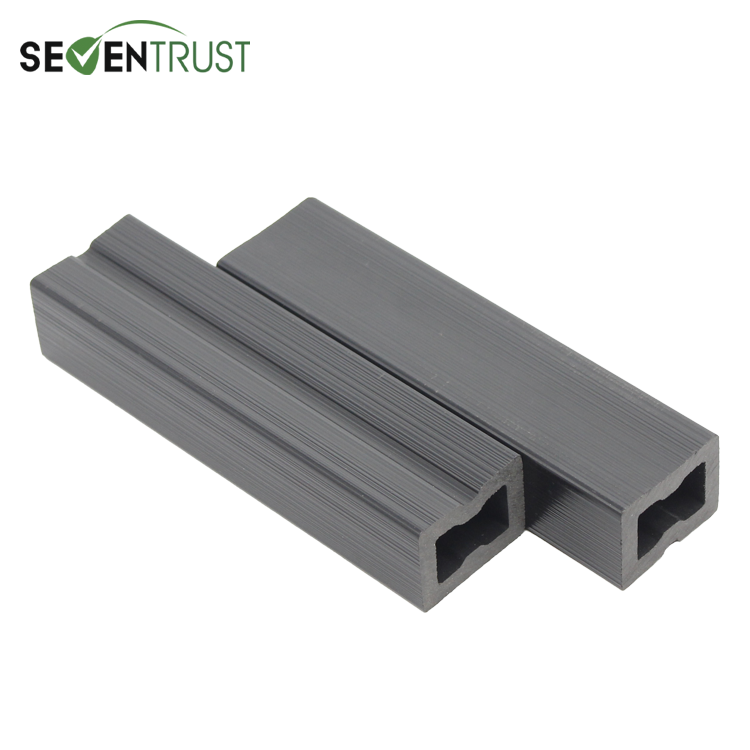
ST- 40H30
Hollow WPC JOIST
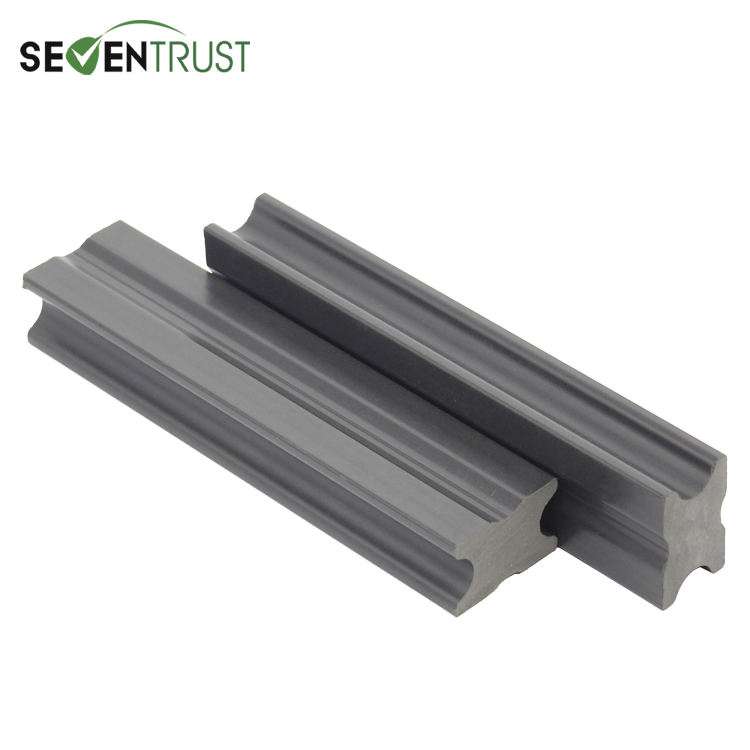
ST-40S25
Solid WPC JOIST
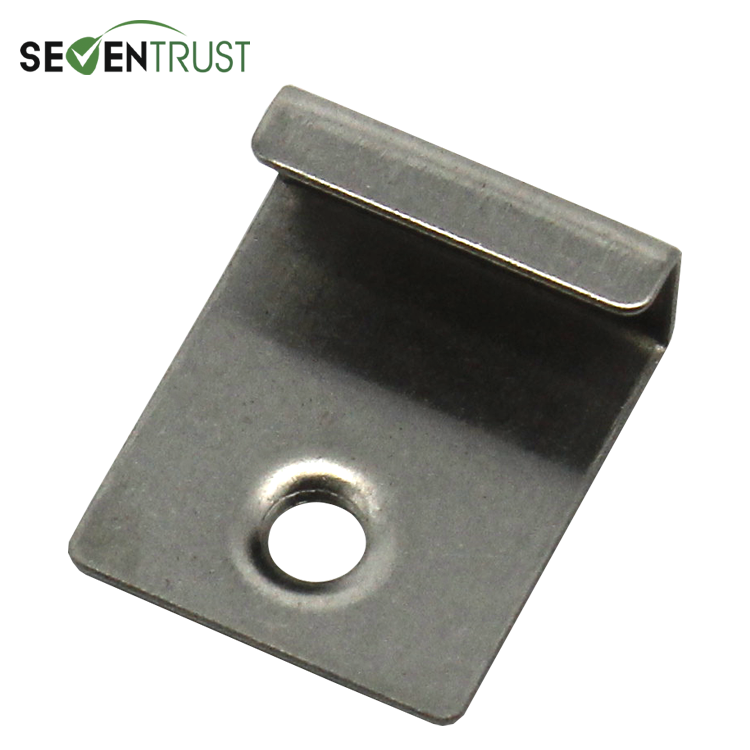
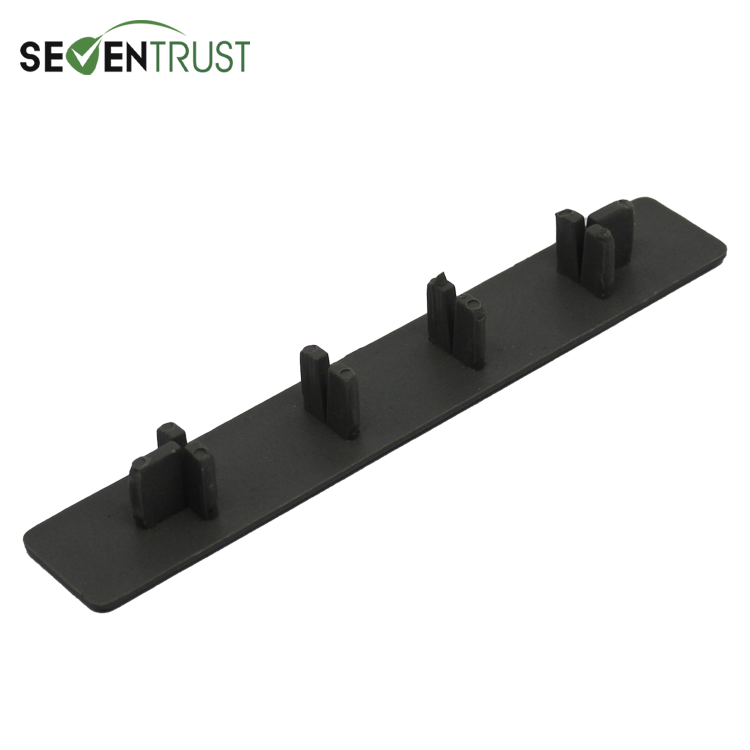
WPC Decking Clips Selection
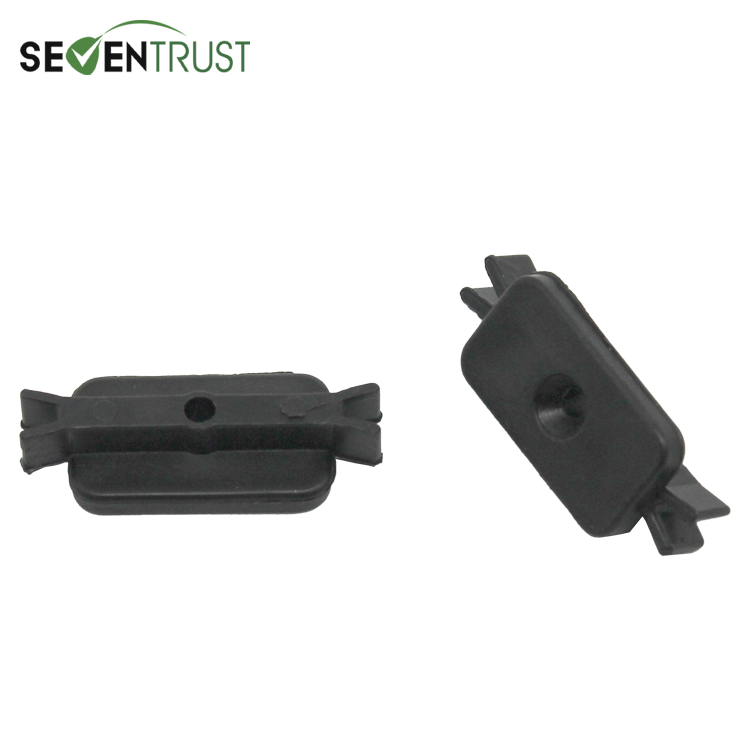
QZP-01
PLASTIC CLIPS
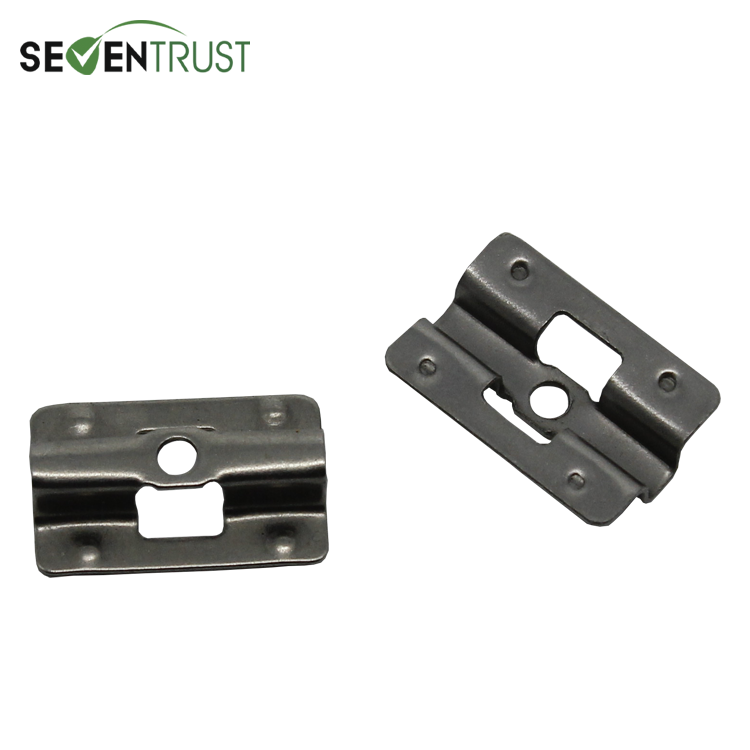
QZP-03
U-CLIPS
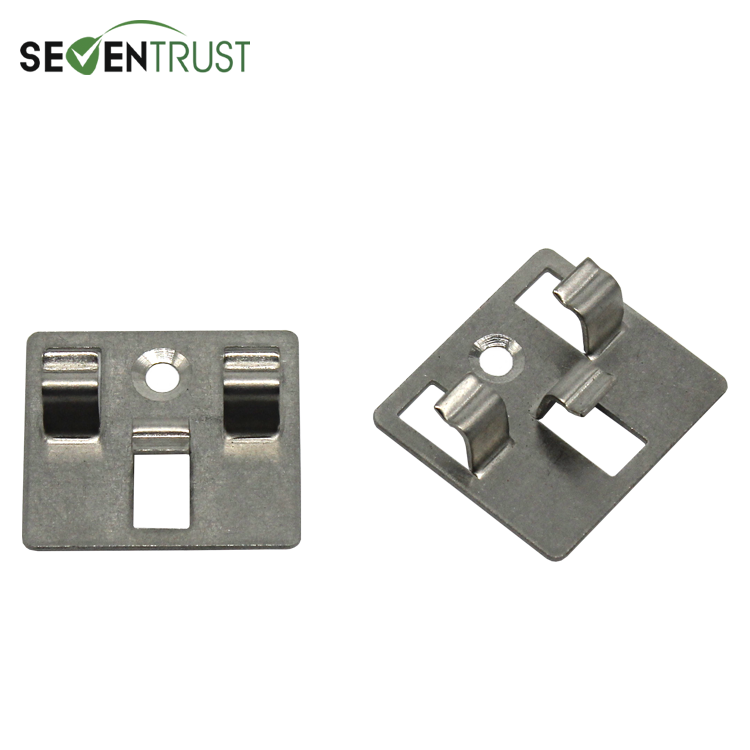
QZP-04
Square CLIPS
QZP-06
START CLIPS
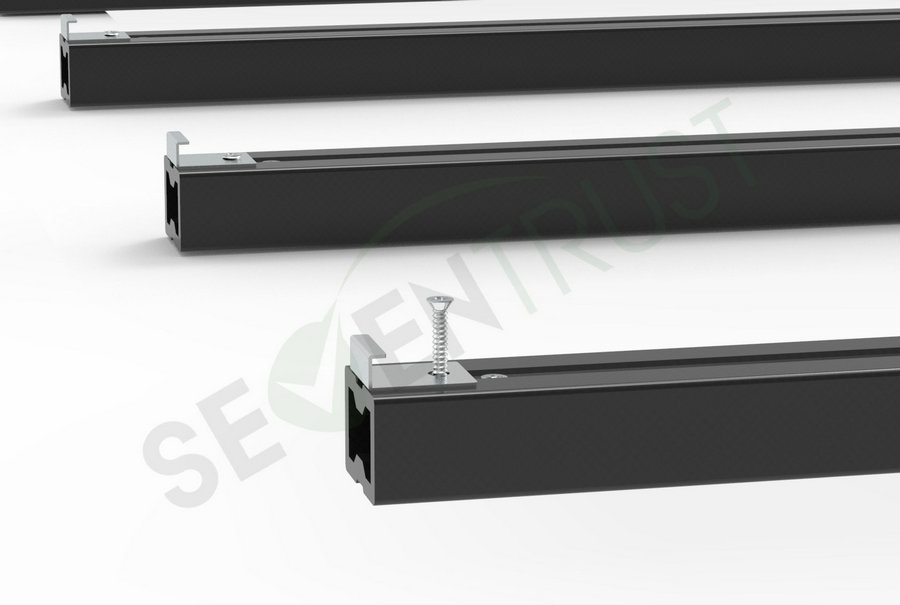
Screw Selection
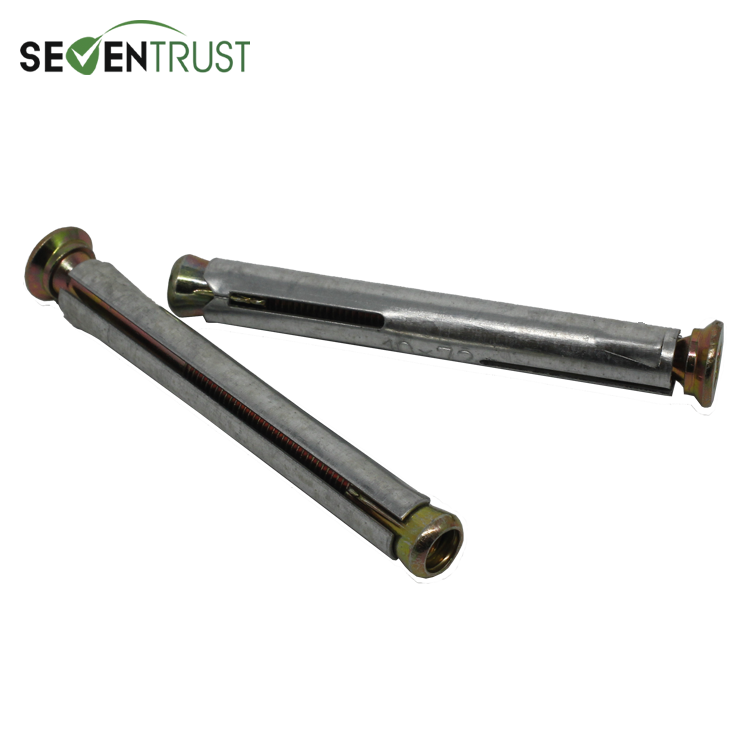
Metal Expansion Screw
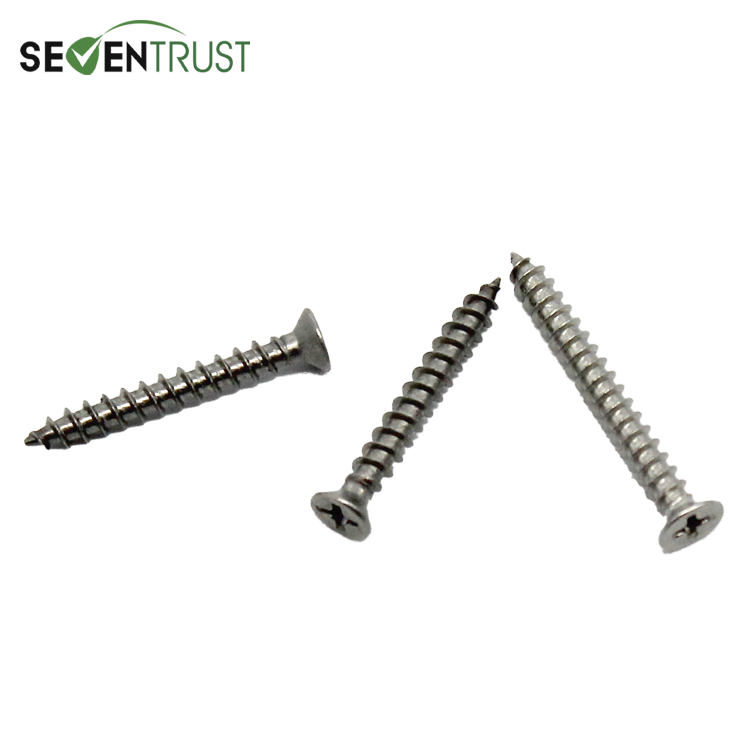
metal-screw
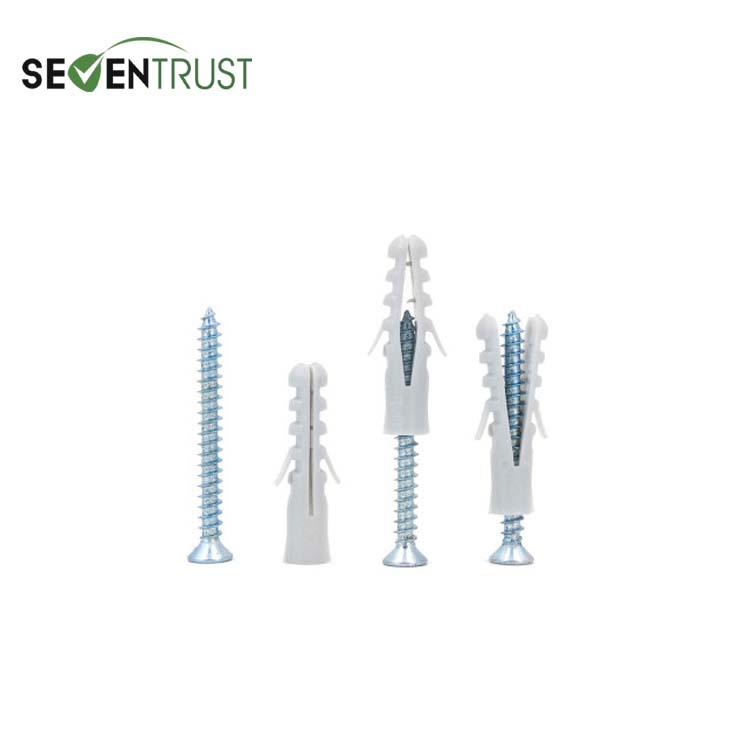
Plastic Expansion Screw
WPC Edge
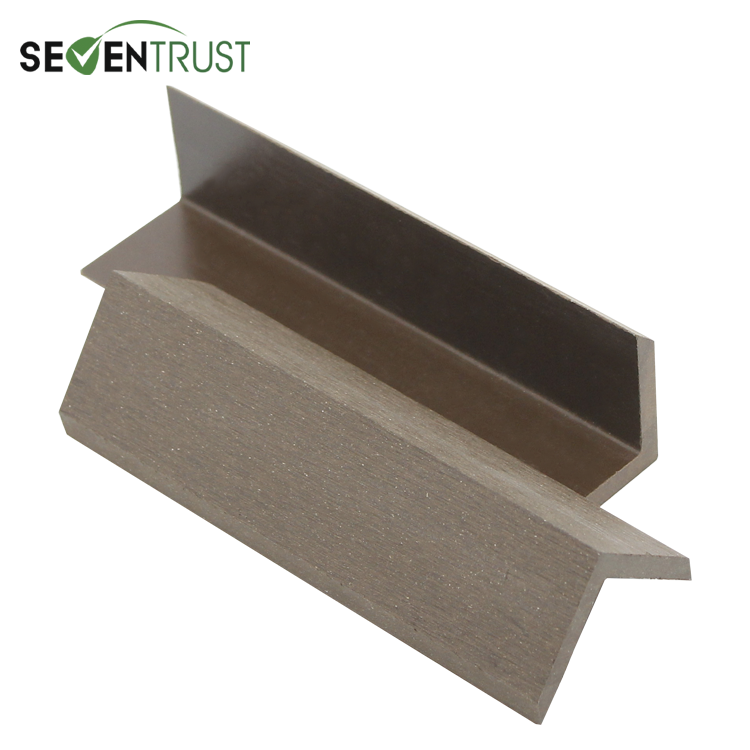
ST-50S50
WPC Edge
STE-01
Plastic Edge
Installation Steps of WPC Decking
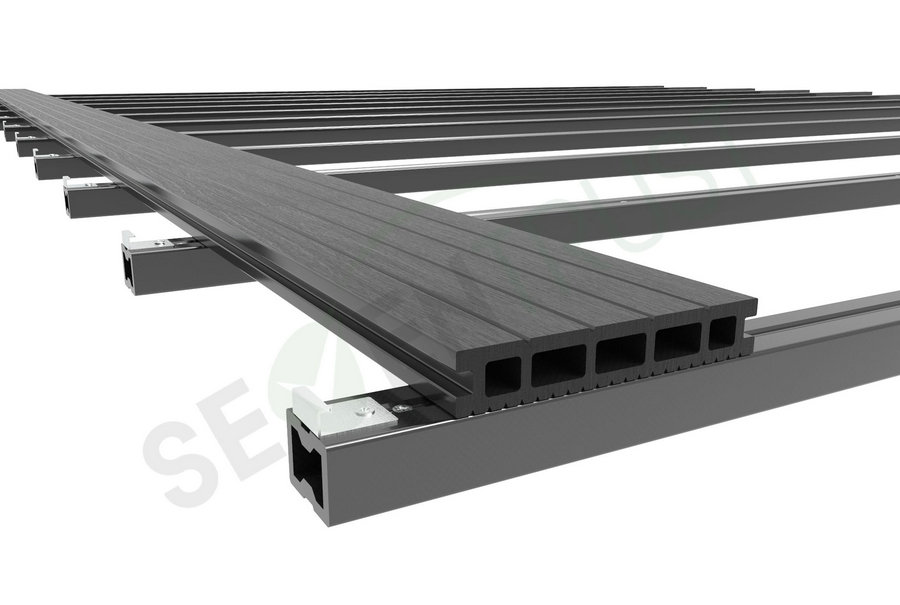
Step One (pic 01):
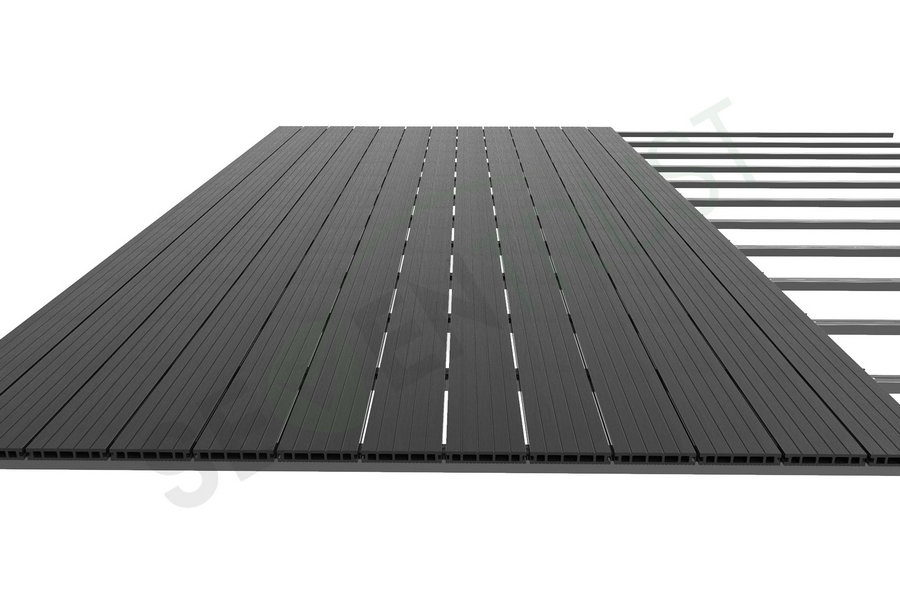
Use expansion screws to directly fix the WPC Joist on the ground. The distance between the two expansion screws is 500mm~600mm, and the screw caps are required to be lower than the surface of the WPC Joist. The fixed Joist requires that the installation work surface is flat, without potholes, and the distance between the Joist is 300mm~350mm.Step Two (pic 02-04):
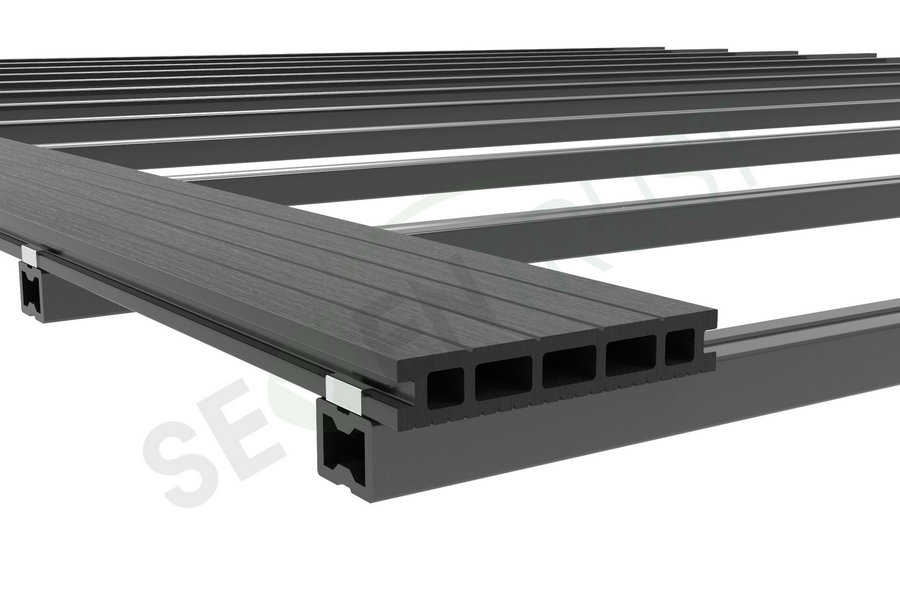
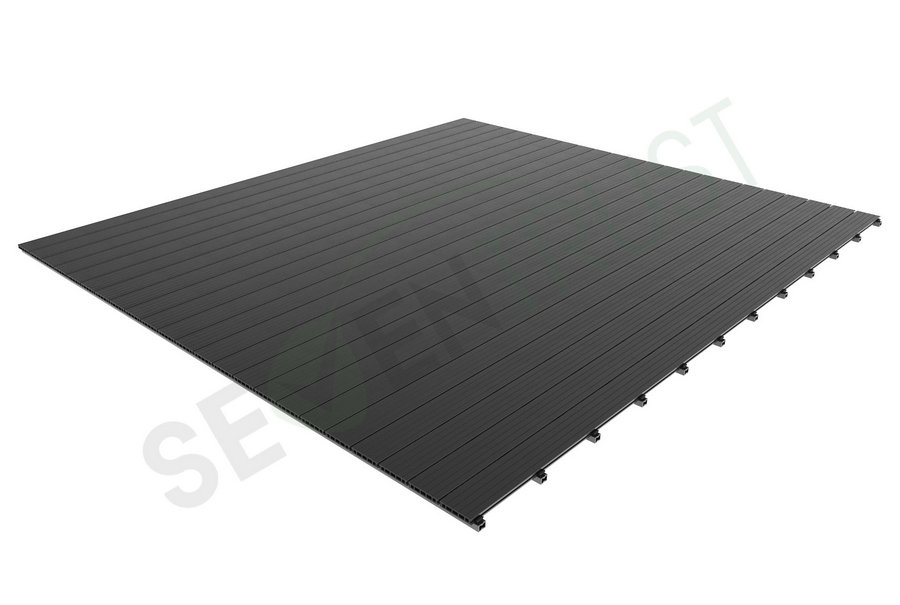
At the start and end of the decking installation, use the start clips to secure the decking on the joists.Step Three (pic 5.1-5.3):
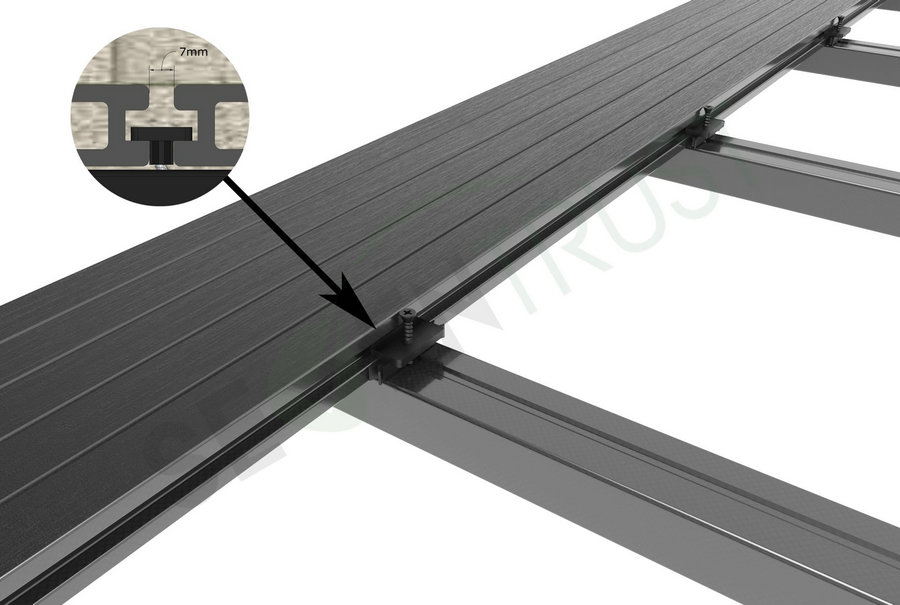
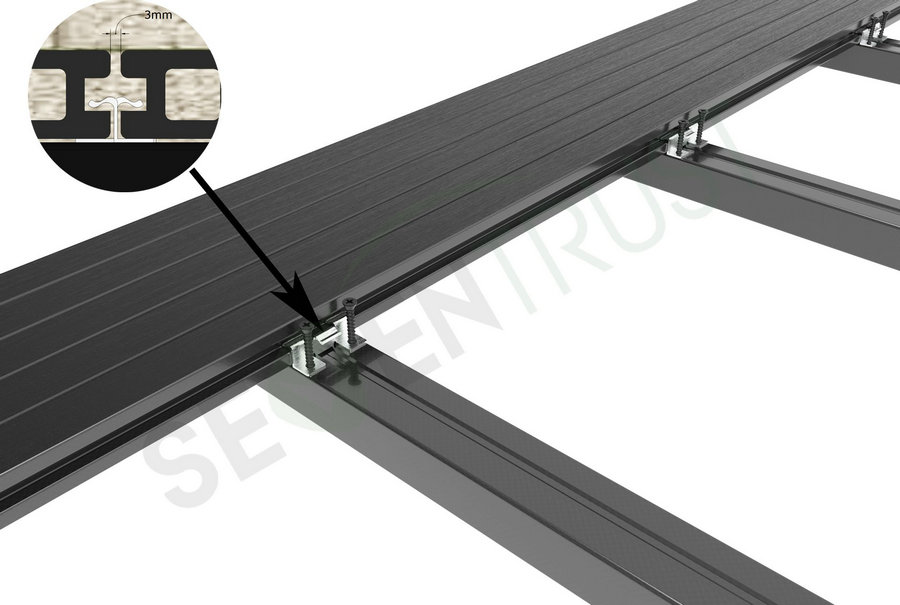
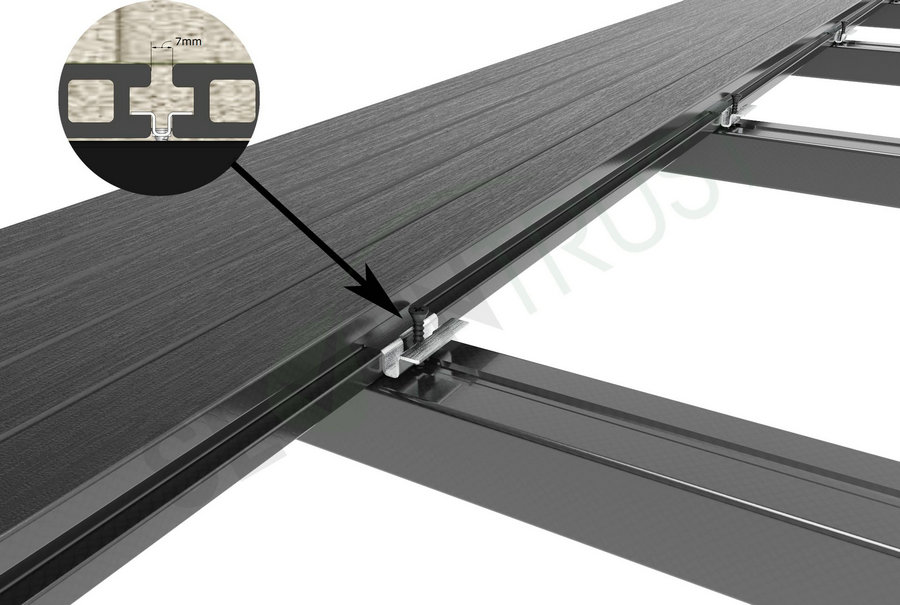
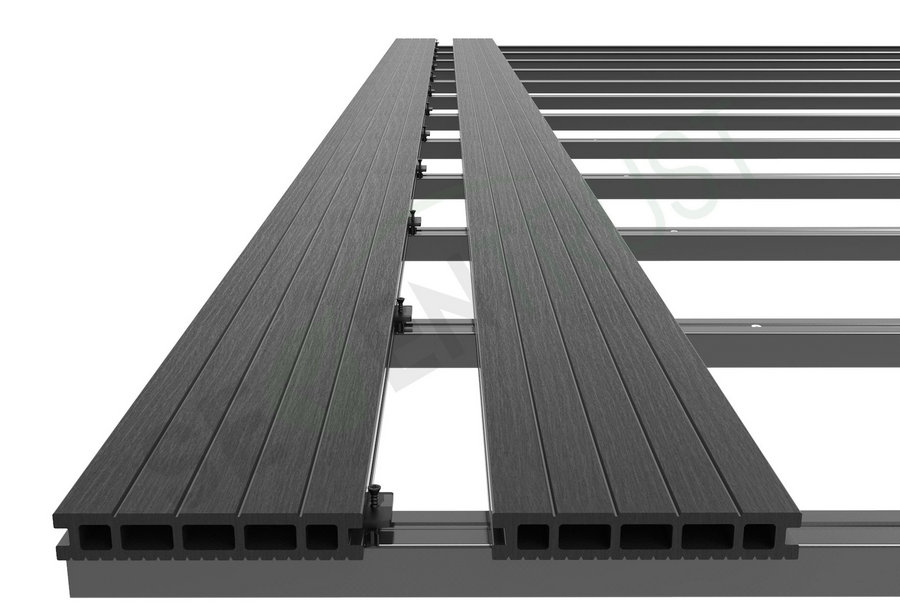
Select the clip(PLASTIC CLIPS,U-CLIPS,Square CLIPS), install it on the joist between the two decking board, and clamp the decking board. Note that the gap between the two decking boards is different when the decking board is installed with different clips.Step Four (pic 06-09):
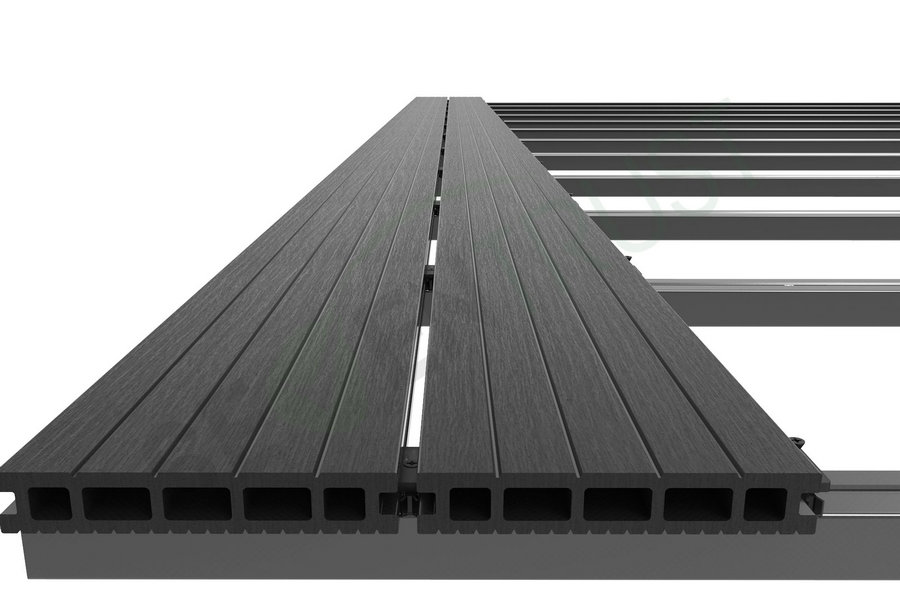
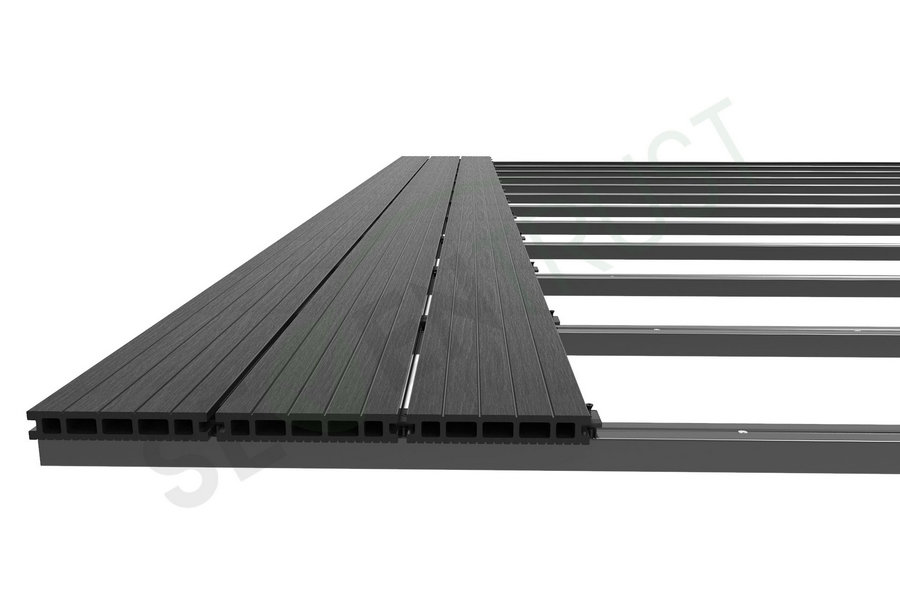
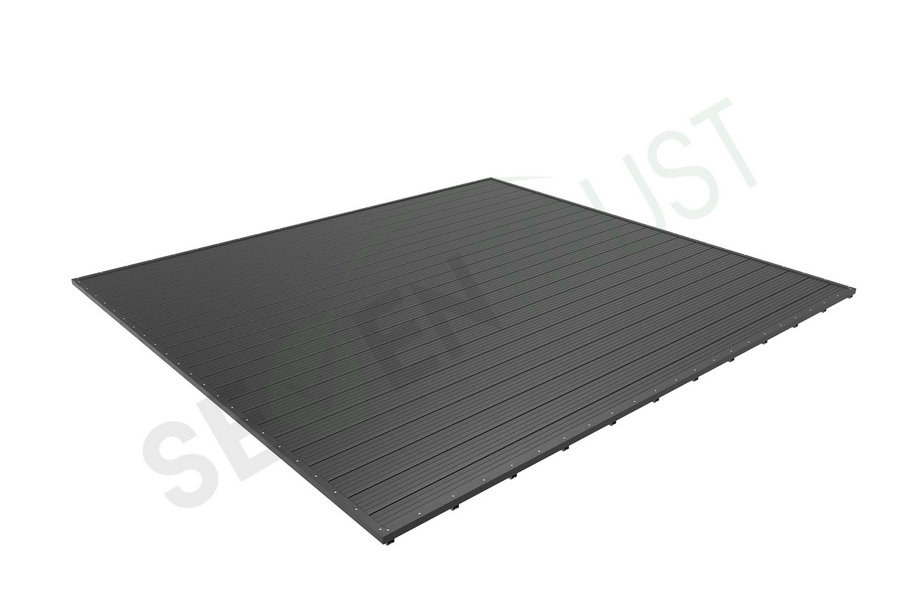
Use the clips to mount the decking boards on the joists.Step Five (pic 10):
Install WPC Edge.
01
02
03
04
05.1
05.2
05.3
06
07
08
09
10
11


